
How to check if your bargain SD card is fake on Ubuntu
F3 (Fight Flash Fraud) is an open-source tool to check if a USB drive or SD card has the capacity it claims on the label.
With memory card and USB drive prices doubling this year, cheap listings from unfamiliar brands or giveaway deals on second-hand sites like Vinted and eBay can be be hard to resist.
But beware of bargain fakes, where the capacity is well below what the label says, and what you think you’re getting. Scammers modify the storage device’s controller so your computer reports a falsified value, e.g., 512GB, even if it’s really only 32GB.
You’ll may only find out it’s dodgy at the worst time: when a file you thought you’d saved won’t open.
Most of these fake drives carry on accepting file transfers even when they lack the space to hold it. What can’t be copied is silently binned off, or an existing file is overwriting. None of this is evident when copying to a device.
One Windows developer, so peeved with the countless counterfeit capacities he bought, created a tool called h2testw to help others detect phoney flash devices.
An h2testw alternative for Linux, F3, implements the same algorithm in an open source package.
Installing F3 on Ubuntu
F3 can be installed on Ubuntu (Linux Mint, Zorin OS, et al) from the repositories via apt:
sudo apt install f3
As F3 is a set of command line utilities and not a desktop app with a GUI, you won’t find a shortcut for it in the application launcher. Don’t be put off; it’s easy to use from the command line if you pay attention to what you’re doing.
There are two specific tools for checking if a drive is fake.
You can use f3write and f3read in sequence. The first fills your drive’s (remaining) free space with test files and the second verifies that all the data that should be there is. This method is a bit slower overall and can increase write wear.
Using f3probe is faster. This modes tests the drive directly, writing data in a different way to tell you if the capacity the controller claims is legit. This tool is more useful on larger storage devices where, for example, writing 512 1GB test files would take a while.
Regardless of which tool you choose, be smart. If you are testing a device with contents you can’t afford to lose, copy off anything you want to keep before you begin – don’t just nod and think “sure”; do it just in case!
Run a quick check with f3probe
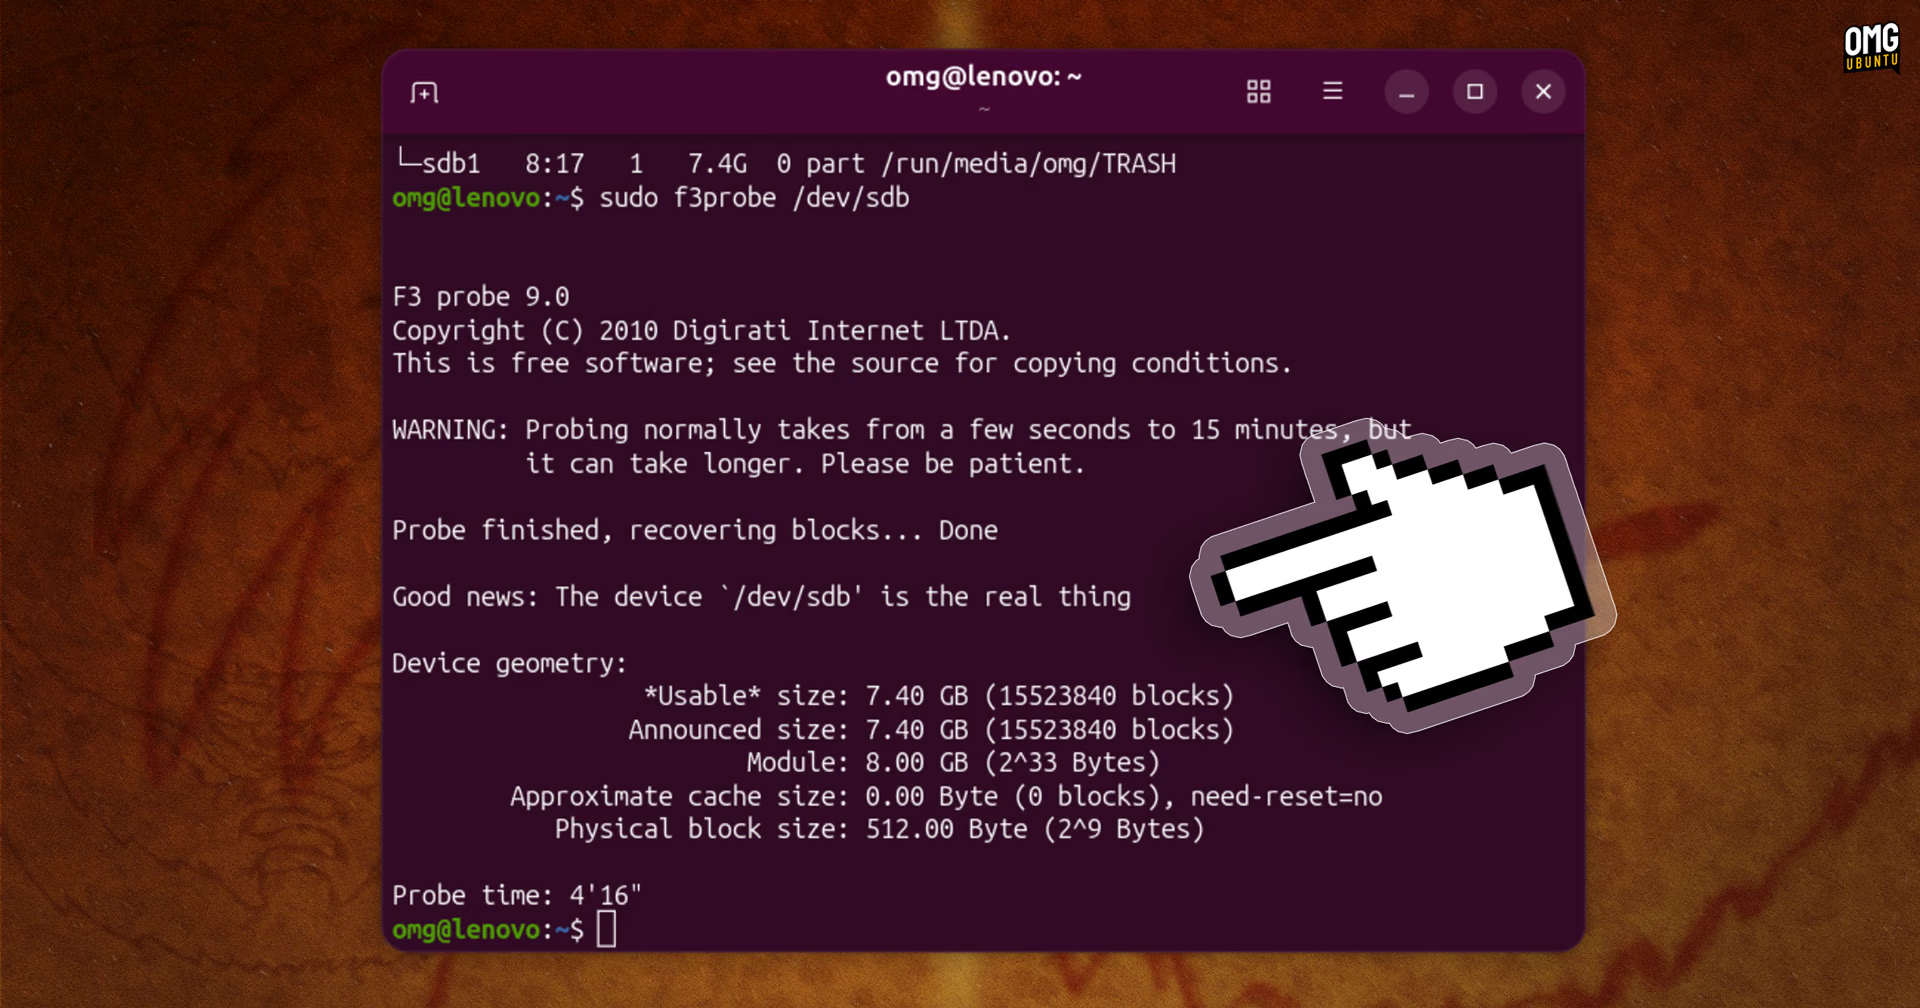
Plug your device in and make a note of its drive path via lsblk. Be absolutely sure you are using the right one – doublecheck via the Disks app, if you need to.
Don’t idly copy any example drive paths from my commands below, as your drive(s) will be on different paths.
If using the faster f3probe mode you need to pass the command the full device path, and not a partition mount. For instance, you’d give it /dev/sdb rather than /dev/sdb1 or /dev/sdb2:
sudo f3probe /dev/xyz
On fast devices connected to a speedy port, checking can take a few minutes, but it may take up to 15 minutes on slower (or cheaper) memory. Leave it to do its thing and, once it’s done, it’ll tell you what it found.
If your device is legit, and all is as it should be, f3probe confirms with a “good news” string:
Good news: The device `/dev/xyz' is the real thing
If things are off, you’ll see a string in the terminal that reads:
Bad news: The device `/dev/xyz' is a counterfeit of type limbo
This counterfeit output will also shows you a command to (optionally) run to “fix” the drive. It will create a new partition that is the actual size of the device, not the size the reprogrammed storage controller reports.
Fixing will wipe the device, so… Be careful.
Run a fuller check to verify
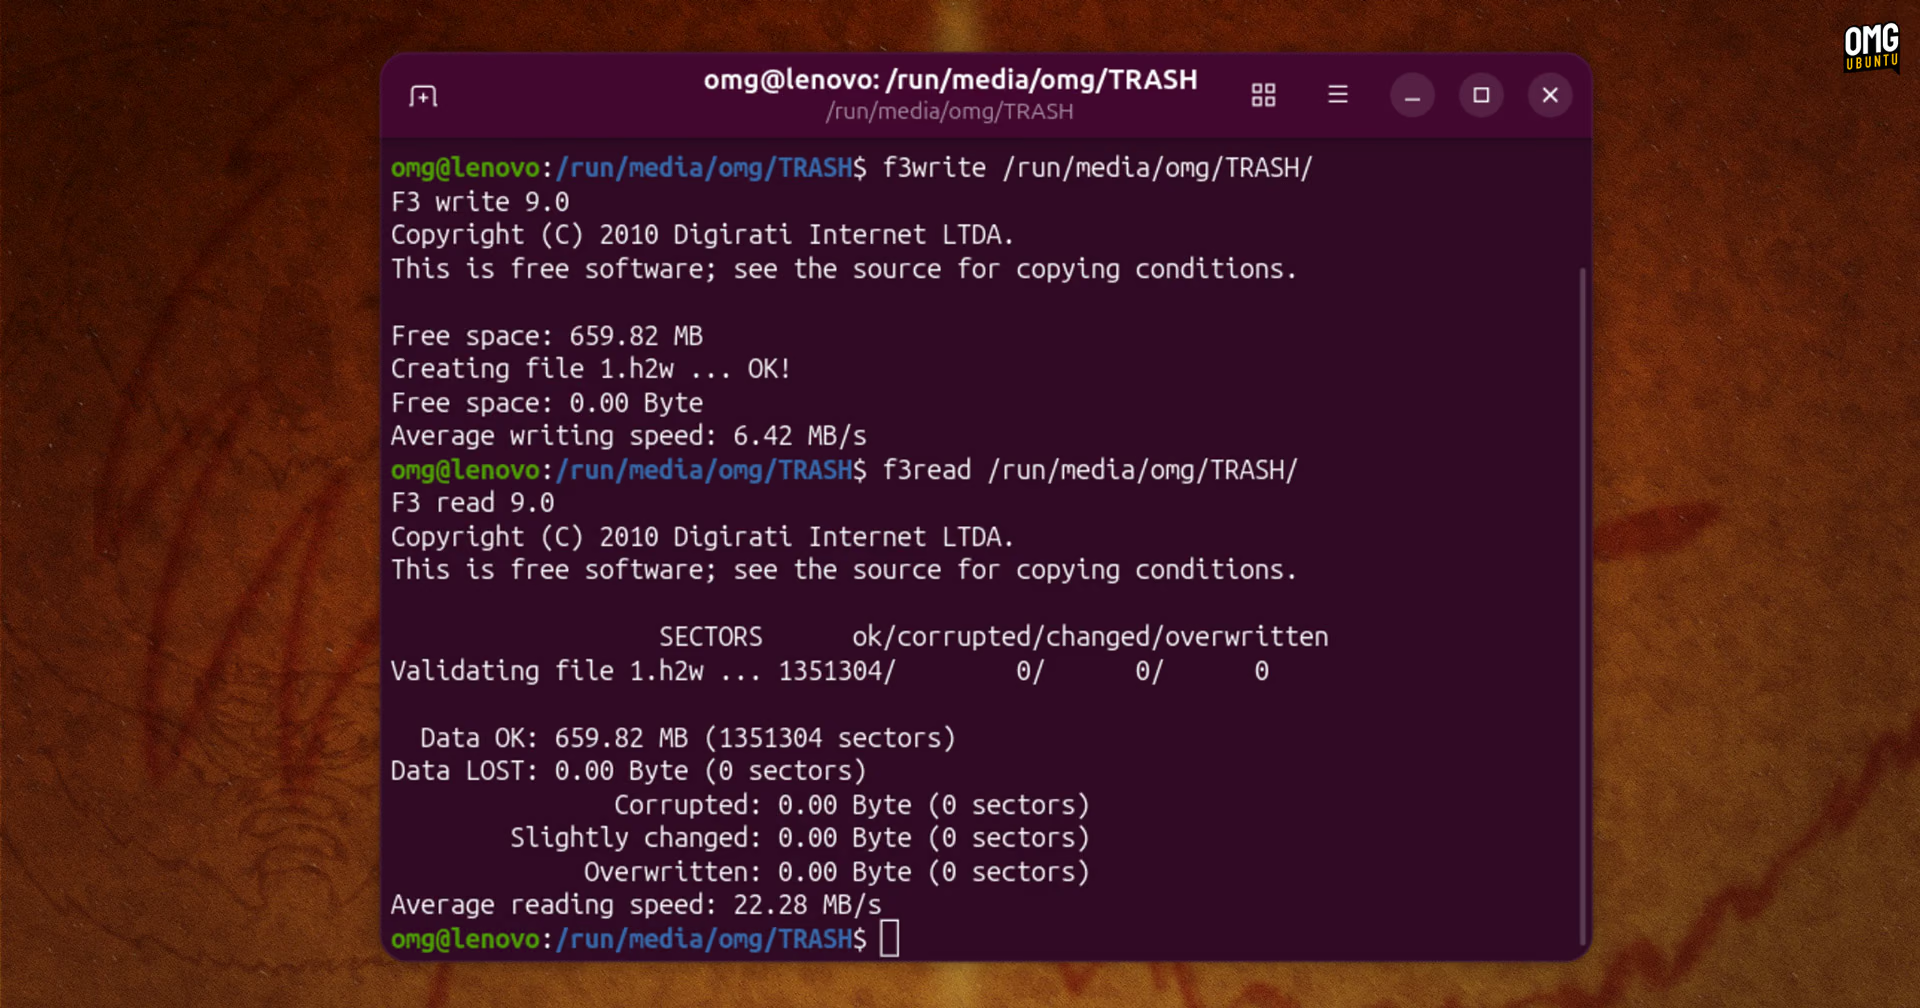
For a thorough capacity check, use f3write followed by f3read.
When you use f3write and f3read you need to give it your drive’s mount point (the folder it shows up as in your file manager). This is often something like /media/username/DRIVE, and not the /dev/ path you’d use for f3probe.
As aways, check the output of lsblk before entering anything, and double-check it’s the right device via Disks before continuing.
Open your terminal and run:
f3write /media/device/
The device’s remaining free space is filled with 1GB files, named something like N.h2w. The CLI shows a progress bar so you know how long it’ll be before it completes. This method can be slower than f3probe on large capacity devices.
Once the writes are done, run f3read on the same mount point:
f3read /media/device/
Now, f3read reads those files back and checks them against what was written. Anything the drive discarded or overwrote to ‘pretend’ it’s larger than it is shows up as damaged or corrupted.
Once done, delete the test files off your device to get the space back.
And if the drive is fake?
If you see a different value to the one you’d expect… Well, I hope you kept the receipt or you can claim a refund. You didn’t get what you thought you’d bought, so you have every right to complain about it.
If you decide you want to keep the drive, but with its true capacity, the f3fix tool will create a partition for this. The command you need to run is shown in the output of f3probe if a counterfeit drive is detected.
Even so, it would be wise not to rely on a counterfeit card or stick if the capacity is off, as it’s more than likely the quality of the flash chips holding data is iffy too.
Have you been caught out by a fake-capacity drive or card? Share what happened, and how you spotted it, down in the comments.
内容来自 LXer Linux News,版权归原作者所有。
阅读原文 ↗